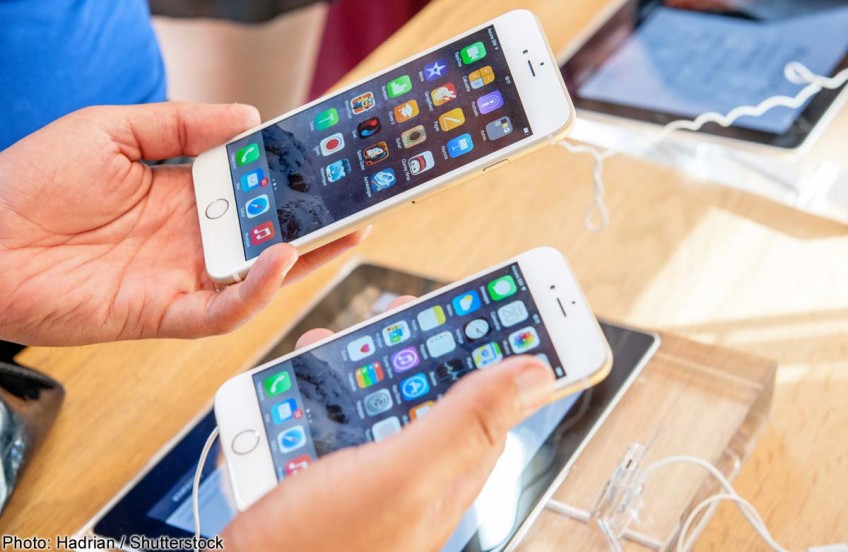
Moving stuff from your old iPhone to the iPhone 6/6 Plus

Congratulations on your spanking new Apple iPhone. That was the easy part.
But moving content from an older iPhone to a new one may seem to be a daunting task. Even though Apple's iTunes software aims to ensure a smooth transition, things can always go wrong. You do not want to lose your 7,621 pictures, right?
Through trial and error, I have found what I think is the safest way to make an exact replica of your old iPhone for your new iPhone 6 or 6 Plus. For this guide, I assume you are using at least an iPhone 5 with iOS 8, the newest operating system, and that you have a computer.
If you are on iOS 7, it gets a bit more complicated. So I highly recommend you upgrade to iOS 8 first. Just do not upgrade to iOS 8.0.1. Disclaimer: This is just a guide. Digital Life is not responsible for any loss of data.
On your old iPhone 5/5s
1) Make sure your iPhone is updated to iOS 8 and update all your apps. If you find you do not have enough storage space on your old iPhone, simply plug it into your computer and update via iTunes.
2) Once you have updated your old iPhone, back up its contents either via iTunes on your computer or wirelessly on iCloud. Personally, I would recommend backing up with iTunes, as it is faster and more stable. Nothing beats having a cable for a stable transfer.
3) If you have never used iTunes before - it is available on OS X and Windows - download it from Apple's website. Launch iTunes and connect your old iPhone to your computer via USB.
4) Now, set your old iPhone in Airplane mode to stop it receiving e-mail and other messages temporarily.
5) Select your old iPhone from the Devices menu and under the Backups >Automatic Back Up, click on This Computer.
Under the Manually Back Up and Restore section, click on Back Up Now.
If you have never synced your iPhone to your computer before, select right click on your old iPhone and click on Transfer Purchases to move your apps to the iTunes library before proceeding with the backup.
6) Once the backup is done, unplug your old iPhone. Take note of the time the backup was completed.
Setting up your new iPhone
1) As a general rule, always charge a new electronic device for at least eight hours before using it. This is to optimise the battery life. Smartphone makers may say otherwise, but it never hurts to have a longer initial charging period.
2) Switch on your iPhone 6/6 Plus, proceed with the Setup Assistant to select your language and country, connect to Wi-Fi, enable Location Services and Set Up iPhone.
3) Next, choose Restore from iTunes Backup and connect the new iPhone to your computer.
As an extra safety precaution, use the Lightning cable that comes with your new iPhone to do this.
4) Select your new iPhone from the Devices menu, right click on it and you will be shown several options. Choose Restore from Backup.
5) You will see different options, but choose the backup you completed previously and start the restore process.
6) The restore process may take anything from 10 minutes to 45 minutes, depending on the capacity of your old iPhone.
If this is done correctly, everything from your previous iPhone, including message history, contacts, folders and apps in folders should be replicated in your new iPhone.
If not, proceed to the "Having problems?" section on the next page.
7) If everything is fine and tidy, insert the nano-SIM card into your new iPhone and proceed with the rest of the Setup Assistant.
8) You will then be prompted to Upgrade to iCloud Drive. Select Not Now. Until the new OS X Yosemite is released, I recommend holding back on the iCloud Drive upgrade.
9) Next, you will be asked to activate Touch ID for using your fingerprints to access the phone. I highly recommend doing so for the sake of security.
Follow on-screen instructions to complete the steps.
10) Then, you need to set up iCloud Keychain and choose between Standard and Display Zoom for how you would like to view your iPhone. The latter has bigger icons and text.
11) Finally, you will see Welcome to iPhone screen.
Hooray! Tap on Get Started to start using your new iPhone.
Next: Having problems?
Having problems?
1) If you cannot find your photos, contacts or message histories on your new iPhone after restoring from your previous iPhone's backup, the restoration has gone haywire. It might be due to a corrupted backup.
2) On Mac, click on the Go menu, press Option and click on Library. Next, go to Application Support/MobileSync/Backup.
For PC, go to \Users\(username) AppData\Roaming\Apple Computer\MobileSync\Backup.
3) Inside this Backup folder, copy the folder (usually with a very long alphanumeric name) with a time stamp that tallies with the time the backup of your previous iPhone was completed and save it to your desktop or an external hard drive. Then, remove this folder from the Backup folder.
4) Put your old iPhone in Airplane mode and back it up to iTunes by connecting it to your computer.
5) Next, put your new iPhone in Airplane mode and restore from the latest backup. This should do the trick.

This article was first published on Oct 1, 2014.
Get a copy of Digital Life, The Straits Times or go to straitstimes.com for more stories.