

This is the order in which you should be applying your skincare products

PHOTO: Pixabay
You know that recent meme that says “when you give your skin care but your skin doesn’t care?” We’re of the opinion that you should keep trying anyway.
Whether it is via an extensive 10-step skincare routine that includes everything from toners, lotions and serums to face masks and moisturisers or a simple three step routine with the basics, it’s really up to you.
Whichever of these options you choose, it’s essential to get the order in which you apply your skincare right. While there are various opinions on what goes where in a skincare routine, we’ve come up with a general guide to layering your skincare based on consistency going from thinnest to thickest and starting with water-based formulations and ending with oil-dominant products.
Some pointers to keep in mind before we begin:
1. Don’t feel pressured to do all the steps. Edit the routine to suit what works for your particular skin type.
2. If you want to pare it down to the bare essentials, the necessary steps are cleansing, moisturising and sun protection.
3. Retinols are a special breed that we don’t want to put in the sequence. For off-the-shelves options, follow the product instructions. For those prescribed by your dermatologist, follow their heed.
4. When using products with active ingredients such as AHA/BHAs and vitamin C, limit the usage to just one product in your routine to avoid irritation.

We cannot stress enough how important cleansing is. A morning cleanse helps to remove any sweat, sebum and dead skin cells that have accumulated over the night so that skincare can penetrate better, and makeup will glide on easily and is less likely to look patchy.
Because you would have presumably removed any makeup the night before, a gentle cleanser like the CeraVe Hydrating Facial Cleanser, $24.13, is sufficient. The fragrance-free, sensitive skin-friendly formula contains three types ceramides and hyaluronic acid that nourishes while cleansing.
No matter how deathly tired you are, you must remove any sunscreen and makeup you’re wearing before you crash for the night. This is to remove any debris and pollution and prevent them from suffocating your skin and pores which could then result in breakouts. Consequently, your nighttime cleansing routine should consist of two steps.
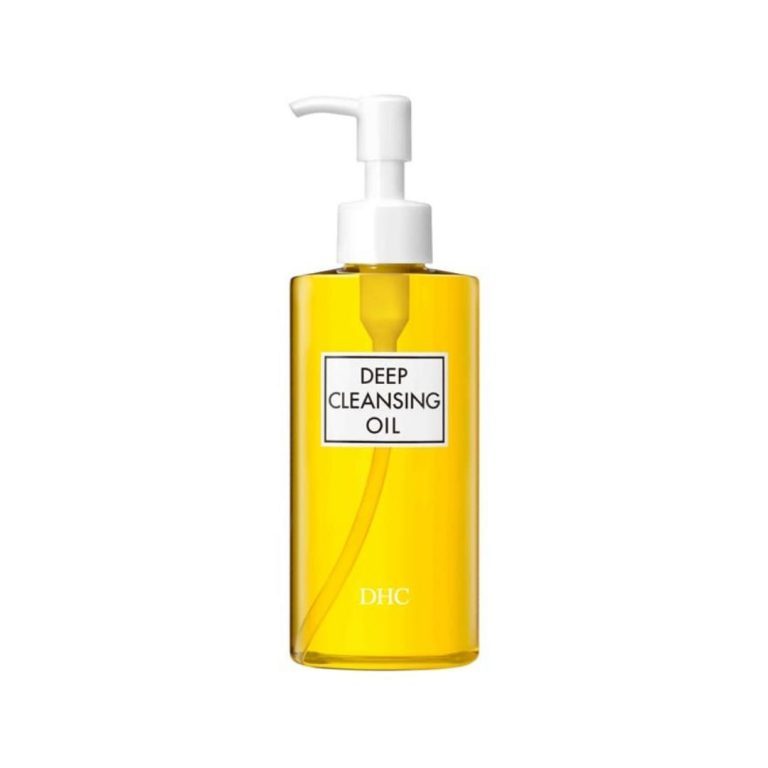
Oil or balm makeup removers and micellar waters would make their appearance here. We like the fuss-free DHC Deep Cleansing Oil, $43.90 as the olive oil formula dissolves makeup effectively without breaking the bank. If you’re extremely tired or had a few too many glasses of wine, you can use makeup wipes, but try not to make cleansing with them an everyday affair.
(Here are “Double-Duty Cleansers: Makeup Removers That Cleanses And Brightens Skin At The Same Time“)
After the first cleanse, we recommend going in with a second cleanser to ensure that any last traces of makeup or debris have been thoroughly rid of. You could stick with the same cleanser from your AM routine or give your skincare a boost with one that contains antioxidants and active ingredients.
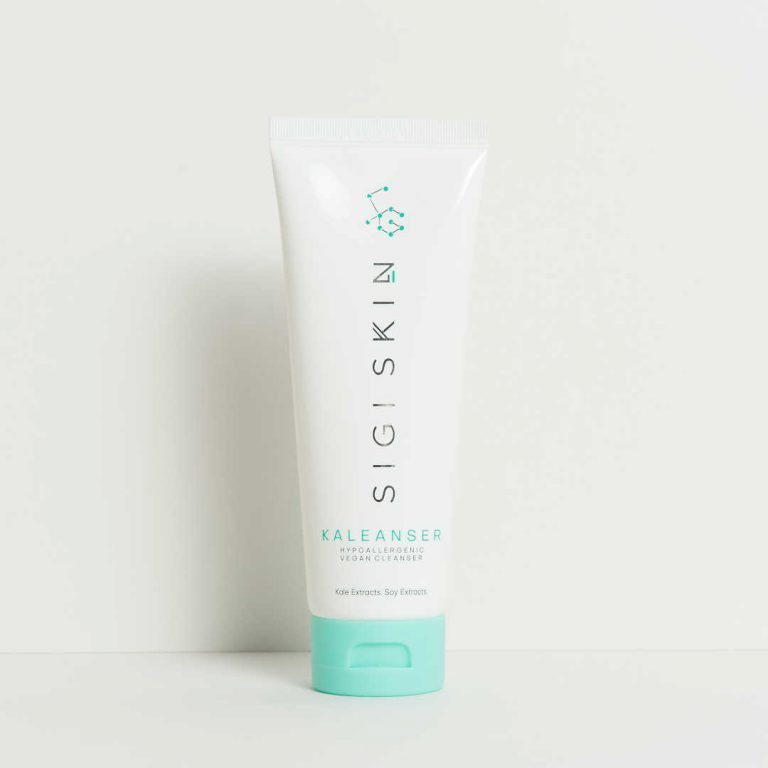
Sigi Skin Kaleanser, $38 contains kale and soy extracts that cleanse, brighten, soothe and moisturise the skin. The non-stripping jelly cleanser is also free of SLS, parabens and phthalates.

Your skin is constantly renewing itself and you will often have dead skin sitting on the surface giving your skin a dull appearance and making it feel rough. Sloughing off this dead skin helps keep skin bright and smooth as well as reduces your chances of breaking out.
You can choose between physical (like a scrub) or chemical (for example peel pads that are soaked in AHA or BHA essence) exfoliators. Ideally use these only two to three times a week. Try the Kiehl’s Epidermal Re-Texturising Micro-Dermabrasion, $78, which is gentle and is composed of micronised shell, shea butter and willow herb.
If you’re also using serums with AHA or BHA and retinol somewhere in your routine, omit this step as too much exfoliation will cause more damage than good.
In the past, toners used to contain harsh astringents like alcohol (which can be drying) to help reduce the appearance of pores and balance the skin’s pH after using alkaline facial cleansers. However, technology has improved since, and while most cleansers are now pH-balanced we still love our toners for their ability to remove any last makeup and soap.
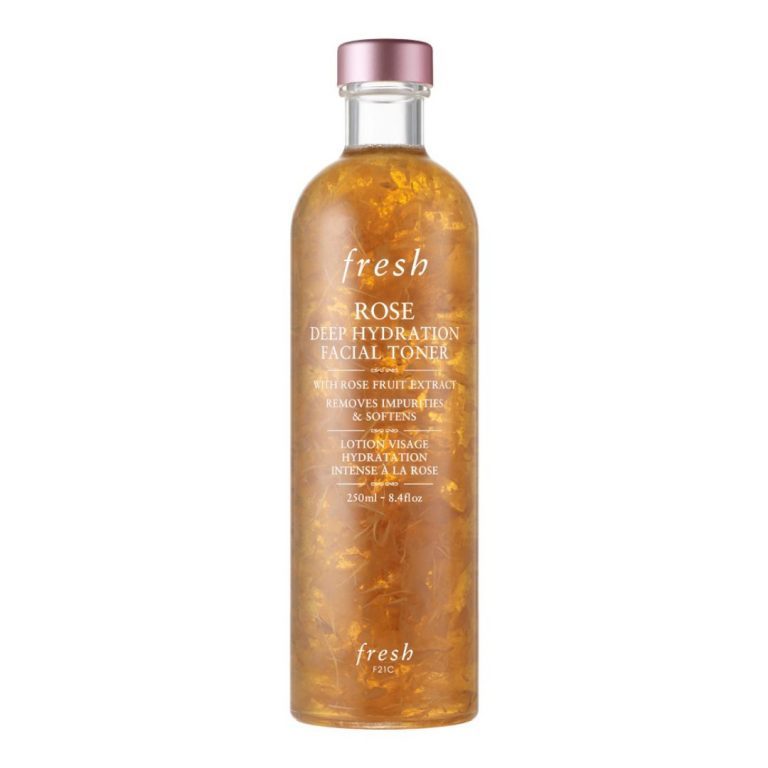
Toners now come in myriad formulations ranging from hydrating to exfoliating with AHAs and BHAs to address different skin concerns. Use the Fresh Rose Deep Hydration Facial Toner, $69, to add hydration back to the skin—something every skin type will benefit from.
The toner contains real rose petals and extracts to remove residual pollution and prep skin for the next skincare steps. Dispense a few drops on your palms or cotton round and lightly pat it across your face.

Essences are something we learnt from K-beauty and J-beauty and are just concentrated active ingredients suspended in a lightweight medium. One of the most famous essences is the SK-II Facial Treatment Essence, $289 for 230ml, which contains the star ingredient, Pitera, and niacinamide to combat the signs of ageing including fine lines, wrinkles and hyperpigmentation.
Similar to toners, dispense a few drops on your palms or cotton round and apply onto the face. You could also use a lotion at this step.
As the name suggests, eye creams are well, specially-formulated creams for the delicate areas around the eyes. Eye creams are also useful to protect the eye area from retinol and other potentially sensitising ingredients in other products in your routine.
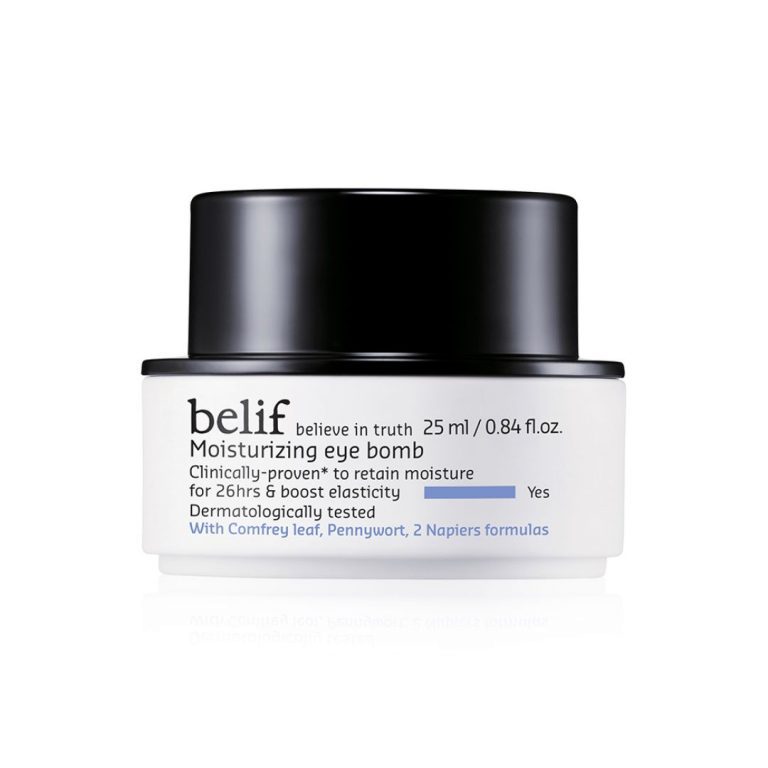
As with other skincare products, they come in a range of iterations. Look out for caffeine and peptides if you want to target puffiness and dark circles, while vitamin-enriched formulations target fine lines and wrinkles. The Belif Moisturising Eye Bomb, $65, is a beginner-friendly eye cream that is hydrating and packed with antioxidants. An alternative to eye creams is eye sheet masks and patches.

Next up in the routine are serums. Serums are made to deliver a potent dose of active ingredients to address various skincare needs. For example, a hyaluronic acid serum would target dehydration while a vitamin C serum is made for anti-ageing and brightening.
Choose one that targets the skincare concern you have. If you have multiple skincare concerns you can use a few serums, just remember to layer them from thinnest to thickest consistency.
But if you want an all-purpose one to fall back on, try the fan-favourite Lancôme Advanced Génifique Youth Activating Concentrate Serum, $130 for 30ml. It contains pre- and probiotics to protect the skin’s microbiome and addresses most signs of ageing. Sheet masks and ampoules (which are even more potent than serums) are used interchangeably here.

Emulsions are lighter versions of cream moisturisers and aid in adding hydration and moisture. These blends of water and oils are especially great for hotter, humid weathers when cream moisturisers can feel too heavy and cloying. Most Western skincare brands also tend to label emulsions as lotions, where as in the Asian skincare context, lotions are similar to essences.
Read the label carefully to ensure you’re picking what you need. If you’re looking for a lightweight moisturiser, try the Etude House Soon Jung 10 Free Moist Emulsion, $25.90. It contains panthenol (vitamin B5) and madecassoside, an extract from centella asiatica, to soothe, heal and hydrate skin.
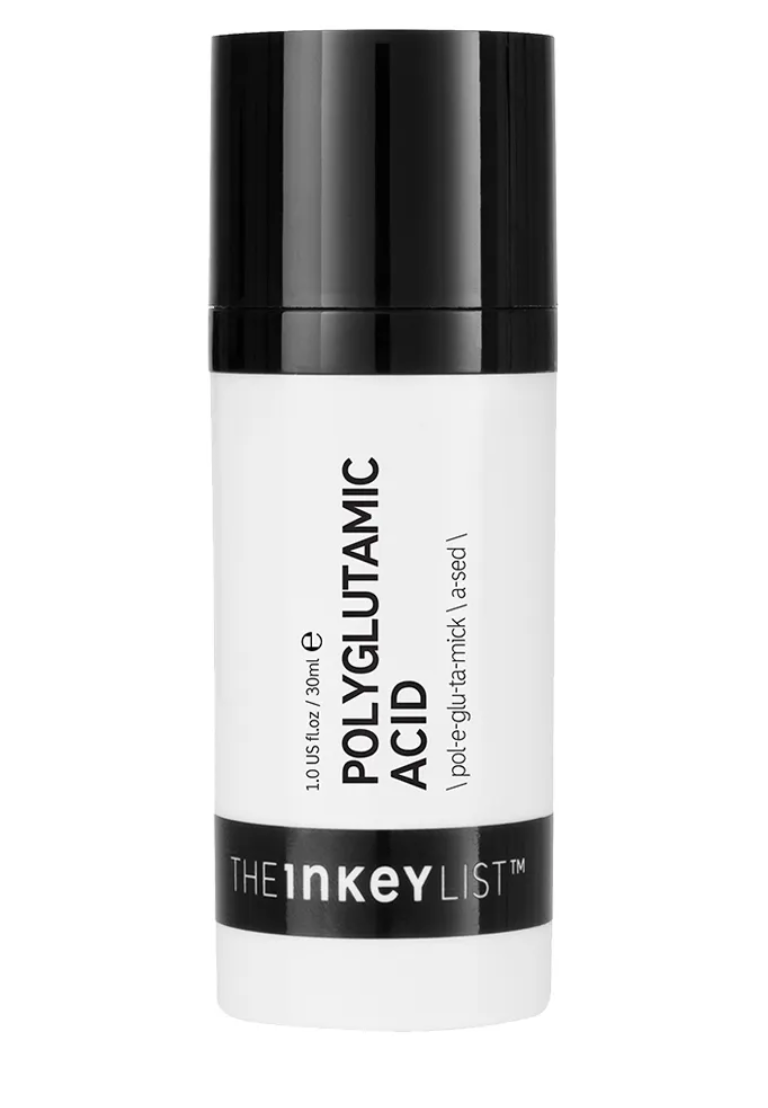
Is your skin feeling more parched than the usual? Consider adding products like Polyglutamic Acid into your routine. Known for its moisture-rich properties, Polyglutamic Acid is said to hold four times more moisture than Hyaluronic acid.
Besides that, the product also promises to reduce the appearance of fine lines, while it evens your skin tone and brightens it at the same time. One of the most underrated products that we’ve tried and tested that actually does the job — The Inkey List’s Polyglutamic Acid Serum.
Apply it after your serum and before your moisturiser for an extra boost of moisture. What’s great about this product is that it also absorbs really quickly into the skin and it doesn’t feel heavy.
Moisturisers contain a balance of humectants and occlusives to add another layer of hydration while sealing the moisture within the skin. Lightweight gel creams are perfect for oily skin folks (yes, you need moisturisers too) while heavier thicker creams soothe drier skin types or those who live in perpetually air-conditioned environments.
In extremely cold, dry climates, it’s not unusual to layer a moisturiser over an emulsion. However, in Singapore’s climate, it will suffice to choose either a moisturiser or emulsion depending on your skin’s needs.
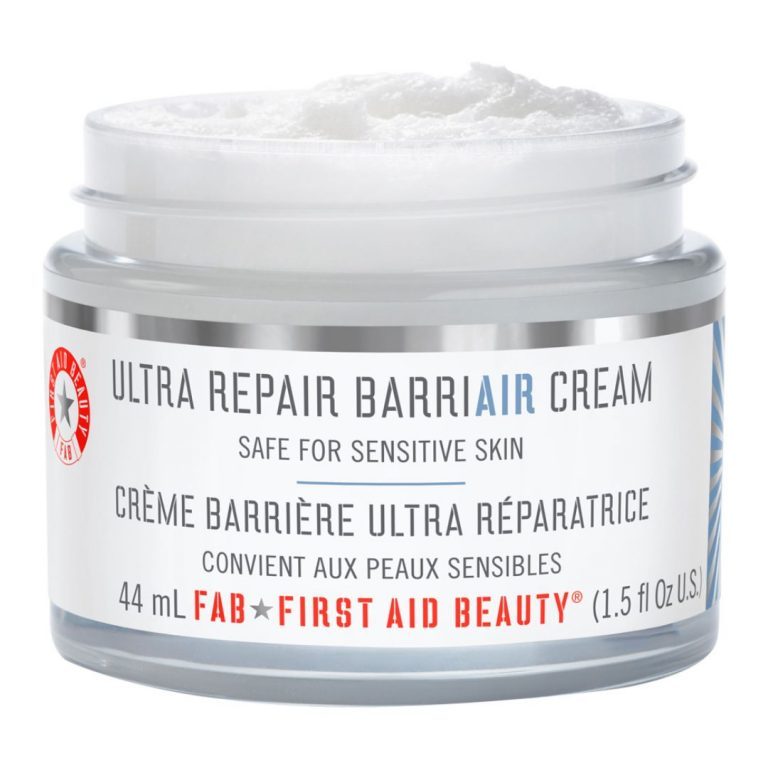
If it’s a moisturiser you need, try the First Aid Beauty Ultra Repair BarriAir Cream, $36, has an airy whipped texture and is infused with skin barrier-repairing ceramides, lipids and hyaluronic acid. It is further bolstered by vitamin E and colloidal oatmeal.

Face oils are the final step to seal all the moisture and ingredients you’ve layered on your skin thus far. There are facial oils that have treatment properties with ingredients such as salicylic acid and those that provide another layer of moisturisation.
We chose to feature Now Foods Jojoba Oil, $18.90, as it is a neutral oil that is nourishing for oily to dry skin types. Jojoba oil can also be used across the body and to nourish your hair and nails.
Facial oils can be used both in the day and night, but given Singapore’s weather it might be best to use it only at night. If you feel the need to use it during the day, let the facial oil absorb for a couple of minutes before applying sunscreen and makeup to prevent the oil from breaking them apart.
Spot treatments vary from hydrocolloid patches and gels meant for acne and breakouts to deeply hydrating creams that help “fill” and lessen the appearance of fine lines and wrinkles. Because of their potency, you don’t want to get them across your entire face as it might cause irritation.
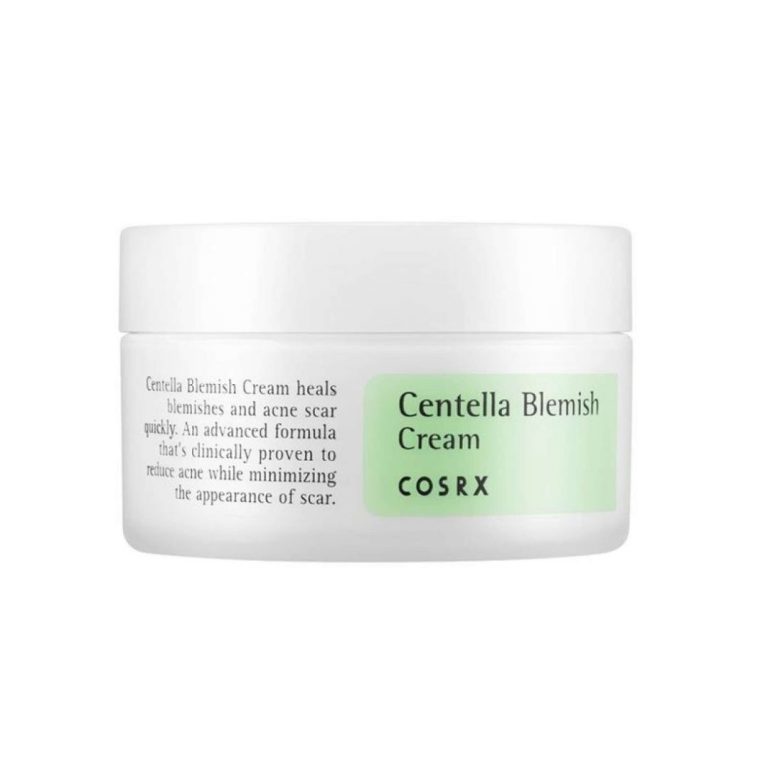
For those plagued with breakouts and post-acne scar and hyperpigmentation, the Cosrx Centella Blemish Cream. $30.90, might be helpful. It is formulated with zinc oxide and centella asiatica leaf water to soothe and heal blemishes. Using a cotton swab, cleanse the area with a breakout and apply it.

The final step in your AM skincare routine should always be sunscreen. If you’re still on the fence about this step, just know that sun damage is permanent and is the cause of most signs of ageing such as wrinkles and hyperpigmentation.
Pick a sunscreen that you will want to (re)apply) and has at least SPF40 and broad-spectrum coverage (or as many plus signs following “PA”). People with sensitive skin might prefer a physical sunscreen containing zinc oxide or titanium dioxide while darker skin types might favour chemical sunscreens as it does not leave a white cast.
The Cell Fusion C Laser Sunscreen 100 SPF 50, $44.90, is a sunscreen beloved in the K-beauty world for its lightweight, non-sticky texture and has both chemical and physical filters.
Don’t forget about your lips, they need TLC too. After all, the skin on your lips does not contain sebaceous glands that produce sebum to naturally moisturise the area. Opt for one with sun protection for the day and a thicker lip mask for an overnight treatment.
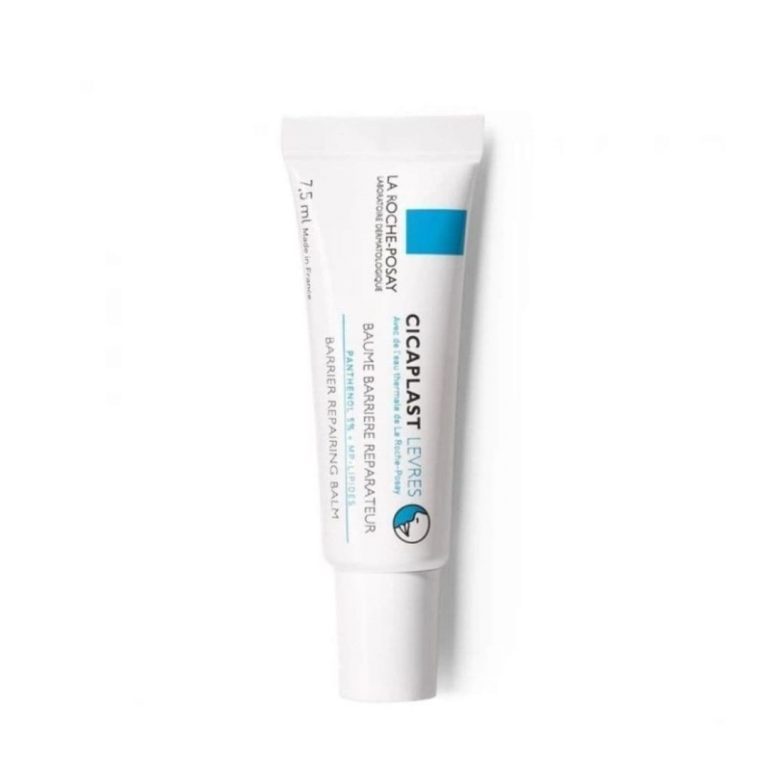
The La Roche-Posay Cicaplast Lip Balm Repair and Protect, $16.90, is a great everyday lip balm enriched with ceramides, lipids, panthenol and madecassosides.

Alternatively, for your night routine, you can also opt for a lip sleeping mask for your chapped lips. A perennial favourite would be Laneige’s Lip Sleeping Mask. Slather on a generous layer before you hit the sheets or apply a light layer in the day and use it as a balm too soothe your cracked lips.
This article was first published in Her World Online.