

 PUBLISHED ONJune 24, 2021 2:00 AMBYMelissa Teo
 AsiaOne has launched EarthOne, a new section dedicated to environmental issues — because we love the planet and we believe science. Find articles like this there.
Ever bought a piece of clothing, realised it didn't look good on you and then let it get lost in an avalanche of other clothes? That's the story of my life.
Despite the mountain of clothes, I constantly update my shopping cart because I get bored of my wardrobe really quickly. While retail therapy is a good stress remedy for my soul, it isn't great for my wallet - or our environment for that matter.
According to the National Environment Agency (NEA), in 2020 alone, Singapore produced 137 tonnes of textile and leather waste, but only six tonnes of this were recycled — that's a massive amount of waste for such a small country.
Therefore, apart from thrift shopping, I've been sussing out more sustainable ways to satiate my desire for new things, and this includes upcycling my old clothes.
Being a total newbie at upcycling, I decided to consult my best friend — YouTube.
Hours later, armed with my newfound knowledge, I attempted to upcycle a few pieces of old clothes and put together a three-piece outfit consisting of a top, jacket and skirt.
ALSO READ: I tried going without electricity for 24 hours — here's how I survived
Cropping a basic top
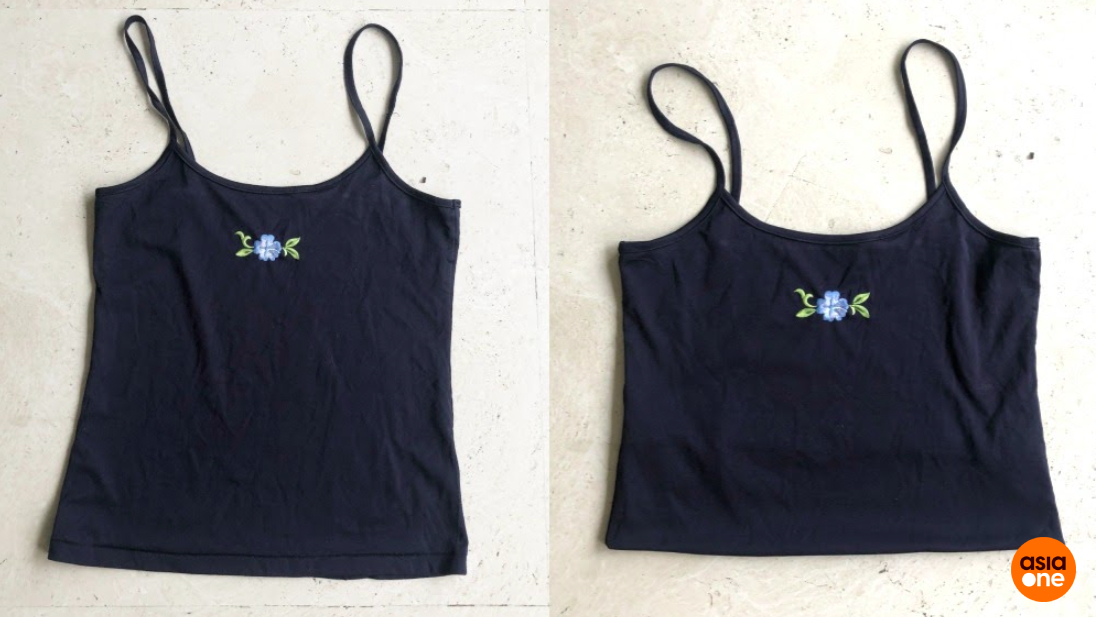
I started my upcycling journey with a basic spaghetti top with an embroidered flower on the front. While I really like the look of the top, I never found myself choosing it. The top hits me right at my belly button, making it difficult to tuck in yet awkward to tuck out.
One solution is to cut off the excess fabric. However, I didn't like the idea of raw edges, nor was I skilled enough to hem the base of an entire top with a sewing machine or by hand.
Therefore, I decided to improvise by using fabric glue.
Here's what you need:
- Top
- Fabric glue
- Pins
- Heavy, flat object, like an encyclopedia
Instructions:
1. Wear the top and adjust it to your desired length by folding in the bottom edges and pinning it down.
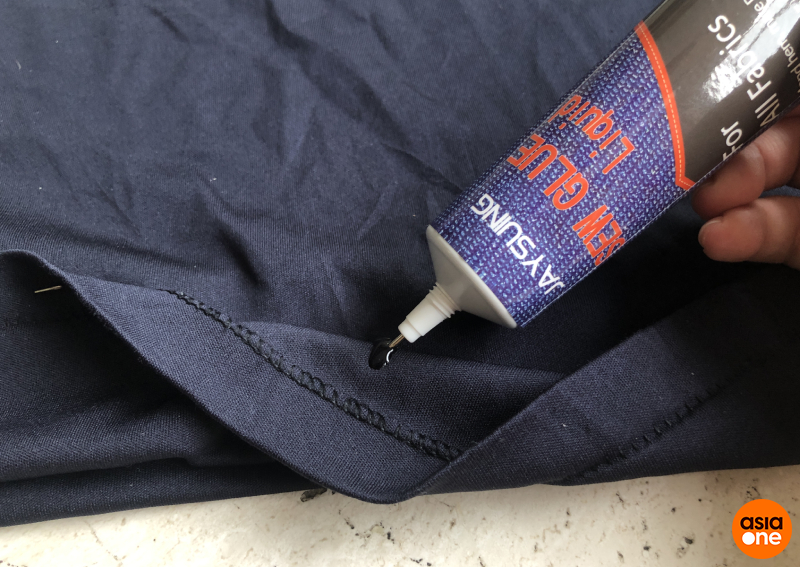
2. Flip the shirt inside out and use fabric glue to carefully glue down the excess fabric one section at a time.
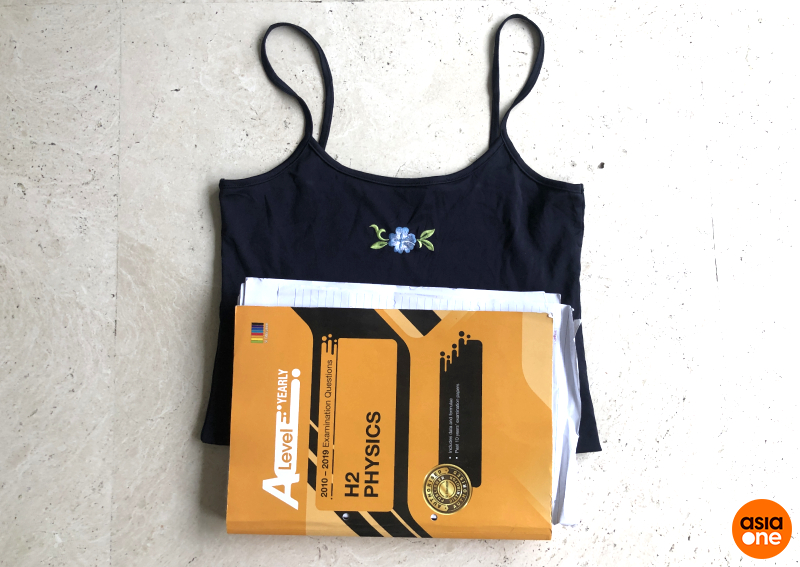
3. Take a thick book or a heavy, flat object and apply pressure to the newly-glued hem for an hour.
Overall, I would rate this a seven out of 10. It was pretty easy to do, but it doesn't look polished enough to me.
Sprucing up a thrifted jacket
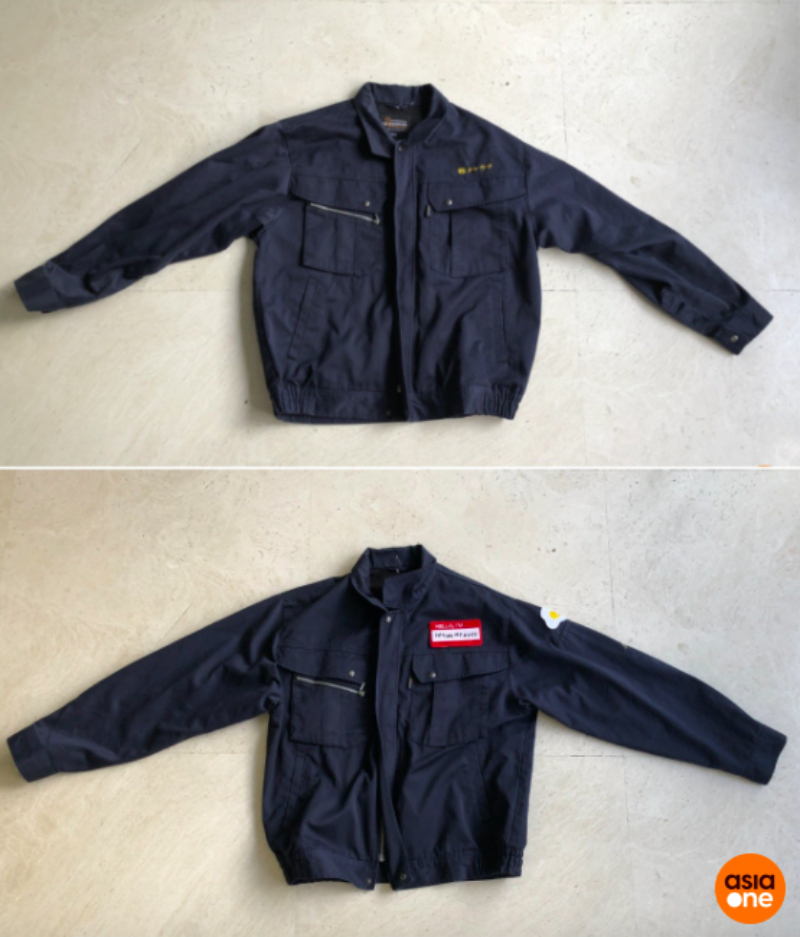
I thrifted this jacket a few years back in Johor Bahru when the borders were still open (cues wistful sigh) and I was drawn to its industrial look.
While it had a good yet slightly oversized fit, I didn't like the random words that had been embroidered onto the breast of the jacket and one of its sleeves, thus remaining at the back of my closet until now.
To spruce things up, I used some cute iron-on patches that I had found online.
Here's what you need:
- Jacket
- Iron-on patches
- A thin cloth, or a handkerchief
- Iron and ironing board
Instructions:
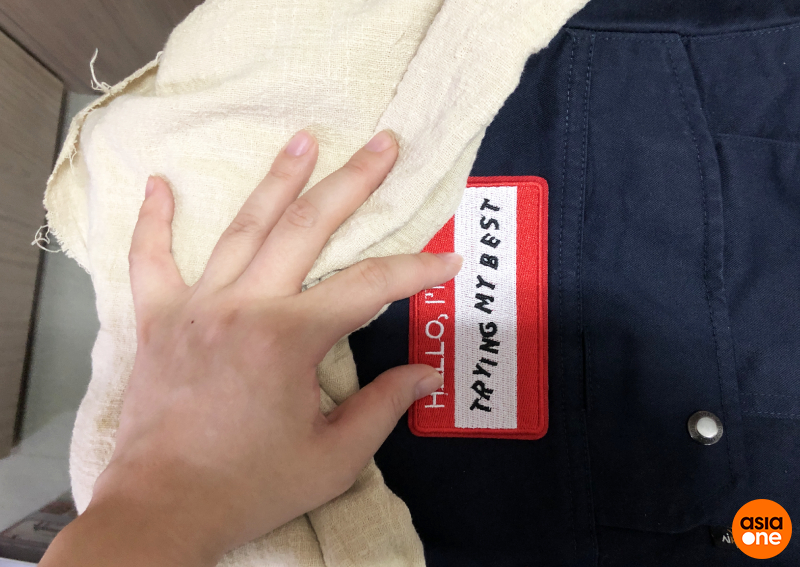
1. Place the patch sticky-side down onto the jacket.
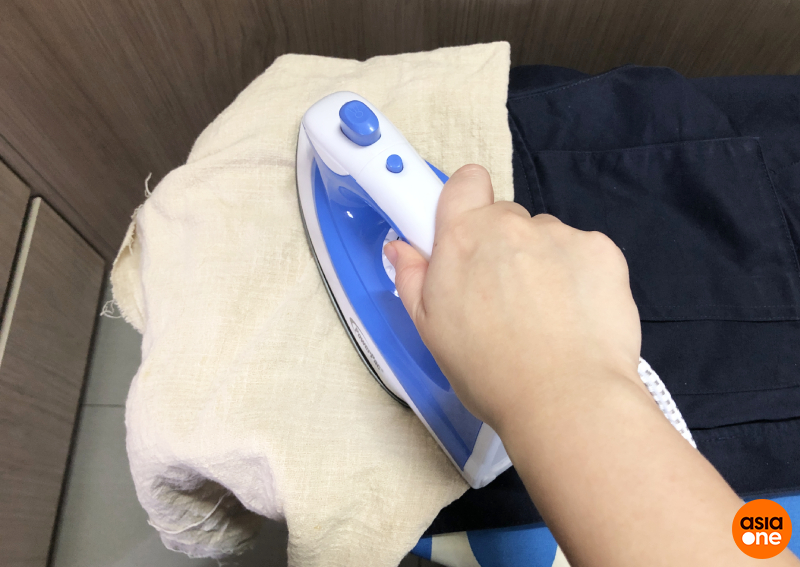
2. Cover patch with a thin cloth and iron over it.
3. To ensure that the patch is adhered on properly, flip the jacket inside out and place the iron on the same area for a few seconds.
I rate this DIY a 10/10. It was both easy and quick - I took less than 10 minutes to stick on all my patches. It's also a buildable project and you can always add on more patches in the future to further customise your jacket.
Cinching in and adding some flair to a skirt
Out of all the DIY projects, I was extremely pleased with the outcome of the skirt. This project does require a little bit of sewing, but it isn't too complicated. If a klutz like me can do it, so can you.
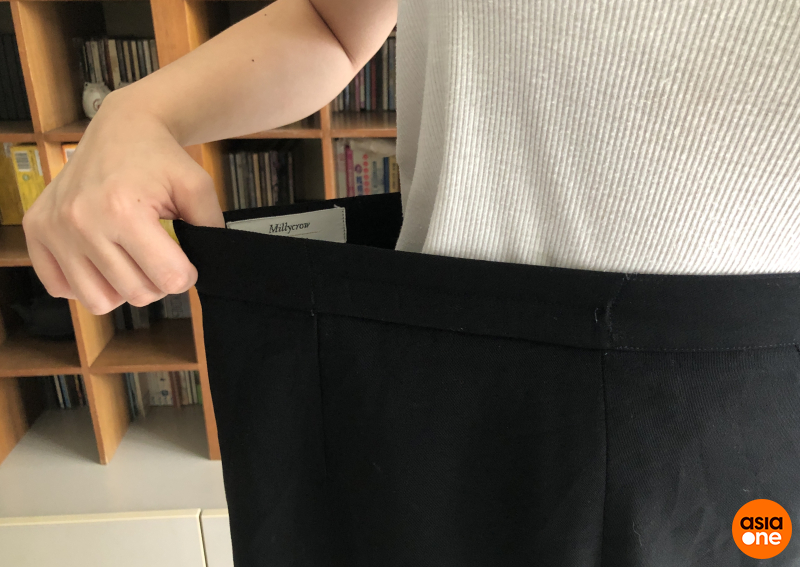
The skirt was of a nice, thick material but unfortunately, the waistline was way too large for me — I could fit an entire arm into the gaping space.
While some YouTube tutorials suggest cutting off the excess fabric and re-stitching the rest of the material, this method leaves plenty of room for mistakes. I wasn't up for such a massive challenge.
Fiddling around with the skirt for a good half an hour later, I came up with a method of cinching in the waist without having to cut it up - by repurposing and repositioning the clasps.
Here are what you need:
- Oversized skirt
- Needle
- Thread
- Scissors
- Snap buttons (only if skirt does not come with it)
- Hook and bar closures (only if skirt does not come with it)
- Masking tape, pins or chalk
Instructions:
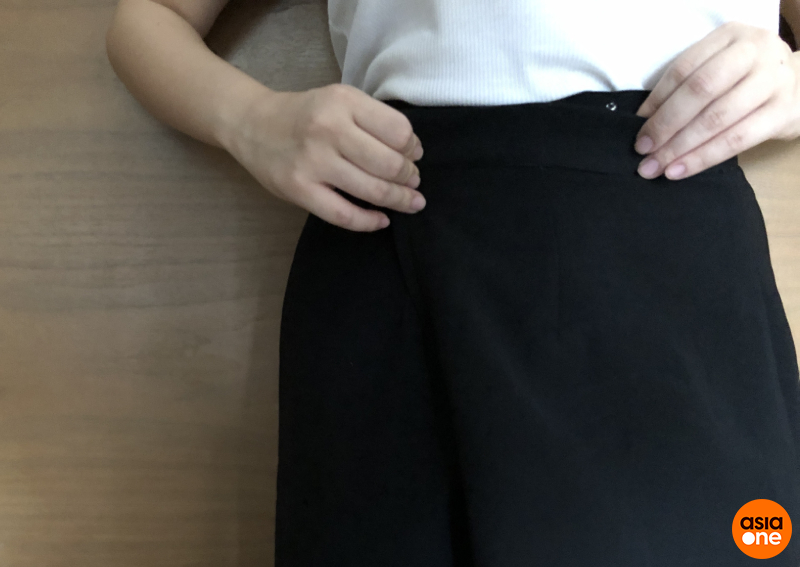
1. Unzip the skirt and wrap the excess cloth around your waist, overlapping the two ends, creating a pleat.
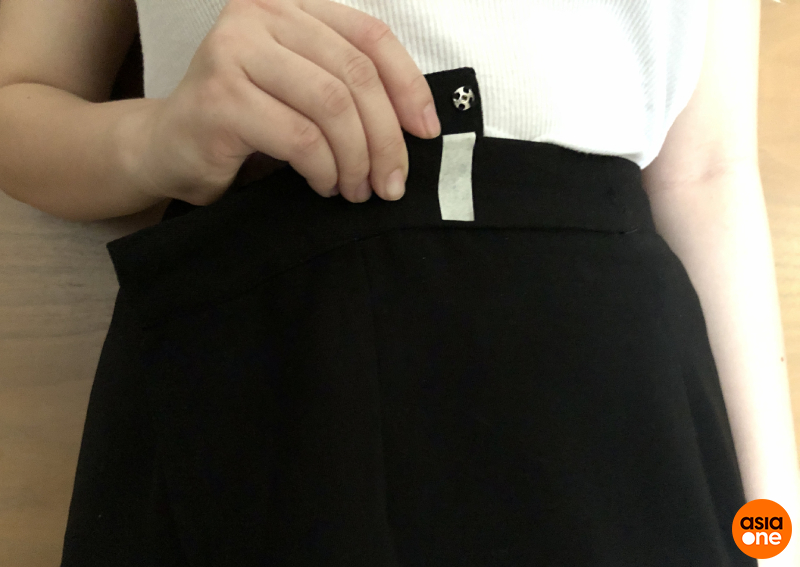
2. Once you're happy with the fit, mark out the respective areas with masking tape, pins or chalk.
3. Remove the original clasps, arrange them on the marked out areas and sew them down. If you are unsure on how to attach such clasps, you can check out how to do so here and here.
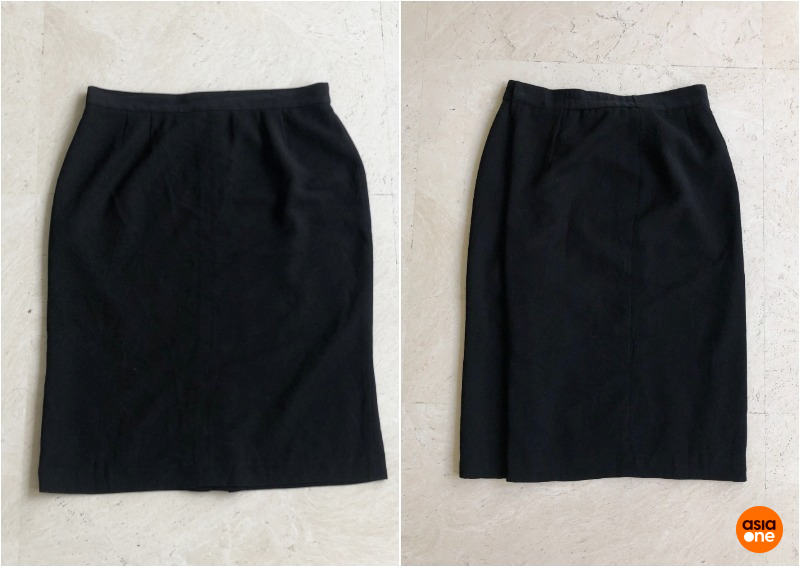
The result? A revamped skirt that sits perfectly on my waist.
Overall, I would rate this DIY a nine out of 10. Most of the effort went into conceptualising the idea, but once that was done, putting everything together was actually pretty easy. Minus the time used for brainstorming, I finished everything in under 15 minutes.
While I definitely would recommend this DIY, I doubt that this method would work with all kinds of skirts. Therefore, do experiment a little with the adjustments before you start snipping.
ALSO READ: I stopped watering my garden for a week, and my plants survived - here's how
A rewarding and therapeutic experience
I'm not going to lie — I was initially pretty hesitant to attempt any form of DIY on my clothes thanks to my fear of sewing machines and accidentally ruining decent apparel.
[[nid:68193]]
However, once I got over that hurdle, these projects were surprisingly rather simple and fun to carry out.
The best part? I got myself a whole new and sustainable outfit without having to empty my wallet.
While upcycling clothes is a little more time consuming than adding things to a cart, it is definitely more rewarding and therapeutic as compared to retail therapy.
Guess who won't be hitting the shops anytime soon? (Me, and hopefully you too.)
melissateo@asiaone.com