

13 wood-related defects not typically covered in the defects inspection checklist

PHOTO: Facebook

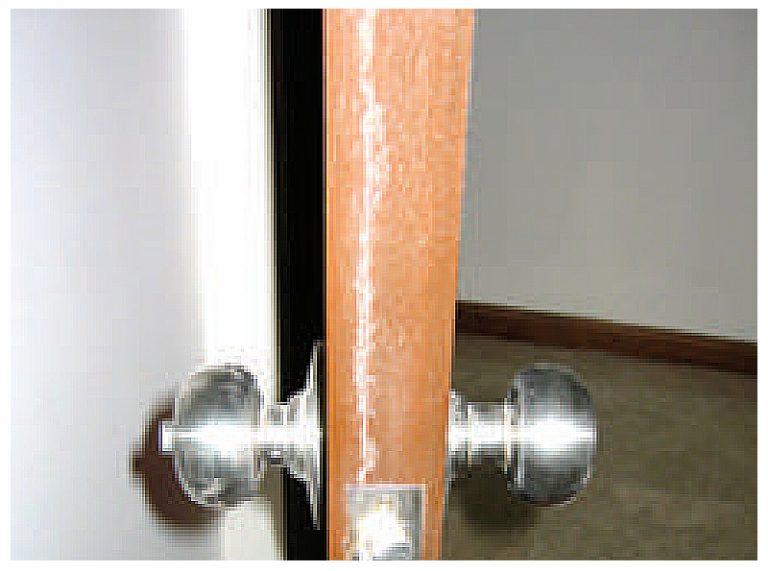
Nails are used in the constructions of the door. However, there are cases when the exposed nails are accidentally left lodged beneath the doors. This is especially dangerous for the younger children, when their tiny toes are caught beneath the doors.
Side note: A rusty nail was found lodged beneath our bathroom door when we carried out the defect checks. The red arrow shows the nail hole, which has since been filled up with wood putty after the rectification.
Use a mirror to check for foreign objects underneath the doors and get them removed.
ALSO READ: How to solve the 5 most common home maintenance problems
Sometimes, cracks will appear in the door panel as the door panel shrinks or expands when the weather temperature variation is too much. Other than this, a crack line may also appear when there is a heavy impact on the door panel.
Get the door replaced and ensure that there is ample ventilation in the room after replacement.
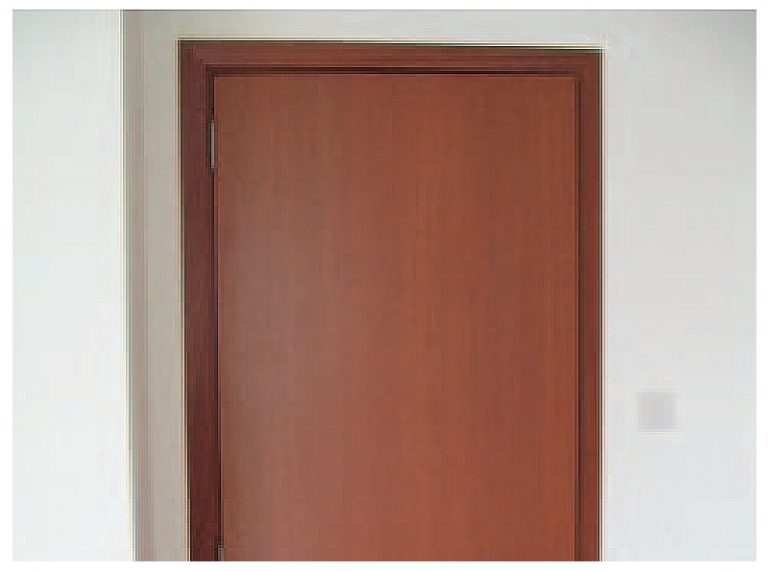
When the door panel is warped, visible gap can be seen at the side and the door will not close properly. This happens when the door is improperly stored or when the weather temperature variation is too much.
Get the door replaced and ensure that there is ample ventilation in the room after replacement.

When the door frame or door is out of alignment, there will also be an inconsistent gap between the door and the door frame when the door is closed.
Check the alignment of the door and the door frame. Readjust the alignment or replace the door where necessary.

When the door frame is out of alignment with the wall or door frame of wrong size is used, a visible gap can be observed from the side.
Make good either the wall or door frame by ensuring that the proper installation steps and right door frame size are used.

Poor workmanship or dimensional wooden defects will result in unsightly visible carpentry joint lines in the door frame.
Get the door frame replaced.
ALSO READ: How to check your new BTO for defects

When the door frame is not parallel with the ceiling or floor, it could mean that either the door frame, ceiling or floor is out of alignment.
Check to see whether if the door frame is out of alignment and whether if the ceiling or floor is leveled properly.
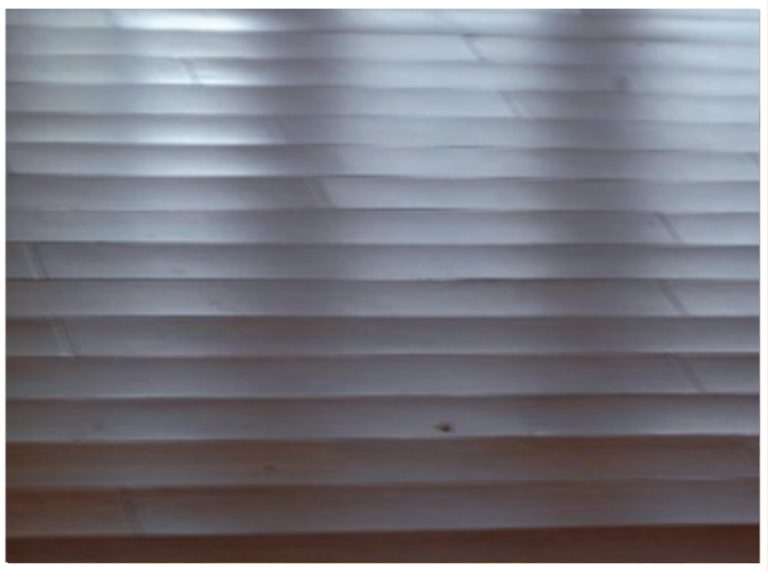
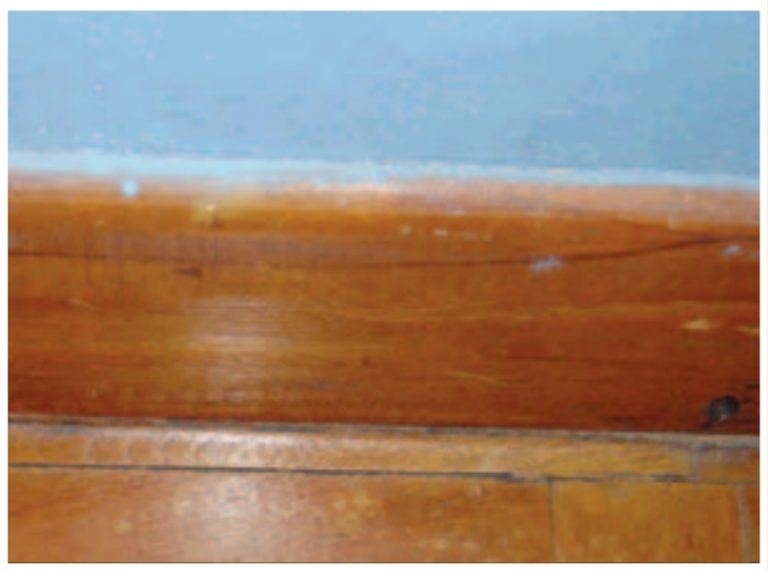
Wood floor cupping is caused by loss of adhesion of timber boards at the edges due to water seepage or excessive exposure to sun UV.
Get the flooring replaced and ensure that the flooring is protected from the weather elements after they are reinstalled.
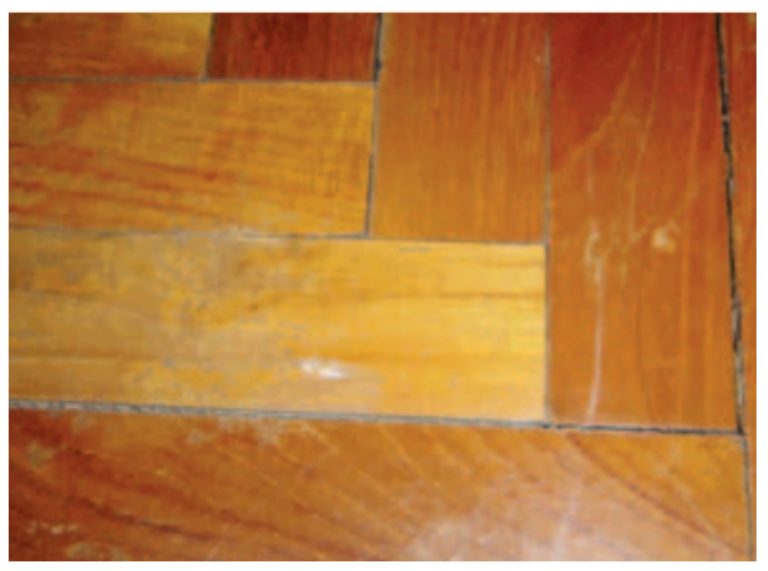
Caps or cracks are due to the parquet shrinkage when there is prolonged dry environment or expansion when there is a lot of moisture.
Get the parquet strips replaced and the replaced strips should be checked for moisture before installation. Keep the room well ventilated and avoid extreme temperature changes in the room.

Stained skirting is caused by paint or chemicals used during the installation process. The discoloration may also be caused by the chemical used and prolonged exposure to water or direct sunlight
Get the paint stains removed with thinner or get the skirting replace. Ensure that there is proper waterproofing to prevent damage from the water. Ensure the skirting is not exposed to sunlight by getting window shades or curtains.

Nail guns are usually used to secure the wooden skirting. However, sometimes, the nails are not properly installed in the skirting either due to improper handling or that the nails are too long.
When that happens, a part of the nail is exposed and can be hazardous. Furthermore, when the nails are removed, the gaps left behind become excellent hiding places for tiny pests.
Check that there are no exposed nails and that the nail holes are covered with wood putty.

These gaps are caused by uneven flooring or improper installation of the skirting. Sometimes, there are too many joints in the skirting which causes the gaps to appear. When the gaps are not filled up, they are excellent hiding places for insects and trap moisture, which will damage the wooden floor and skirting.
Check beneath the wooden skirting for gaps and get them filled up with wood putty.
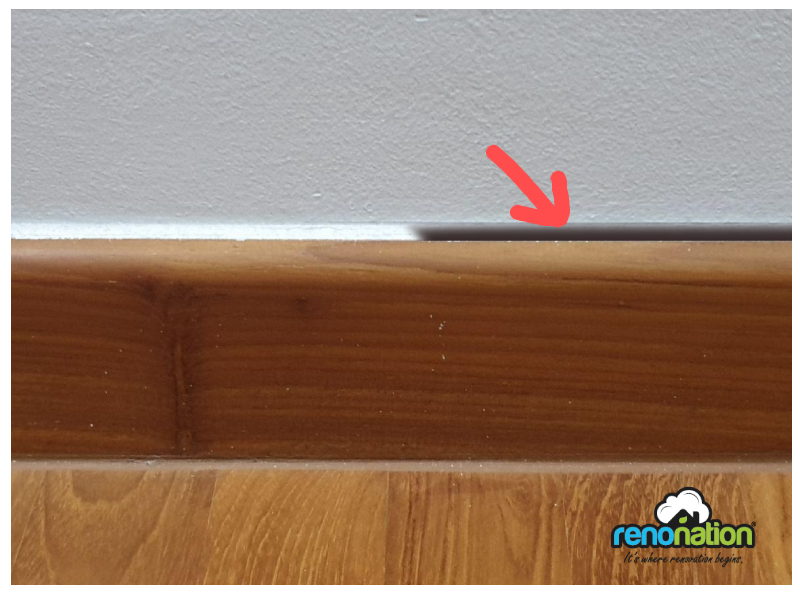
After installation, the gap between the parquet skirting and wall needs to be covered with caulk, to make the joinery look flawless. It also serves as an important barrier to keep both critters away from the gap.
Side note: The red arrow shows the gaps between the parquet skirting and the wall in our bedrooms. These were supposed to be covered by the white caulk.
Ensure the gaps between the wooden skirting and wall have been properly sealed with the caulk.
ALSO READ: BTO defects checklist: 6 important areas to check during inspection for your new home
This article was first published in Renonation.sg.